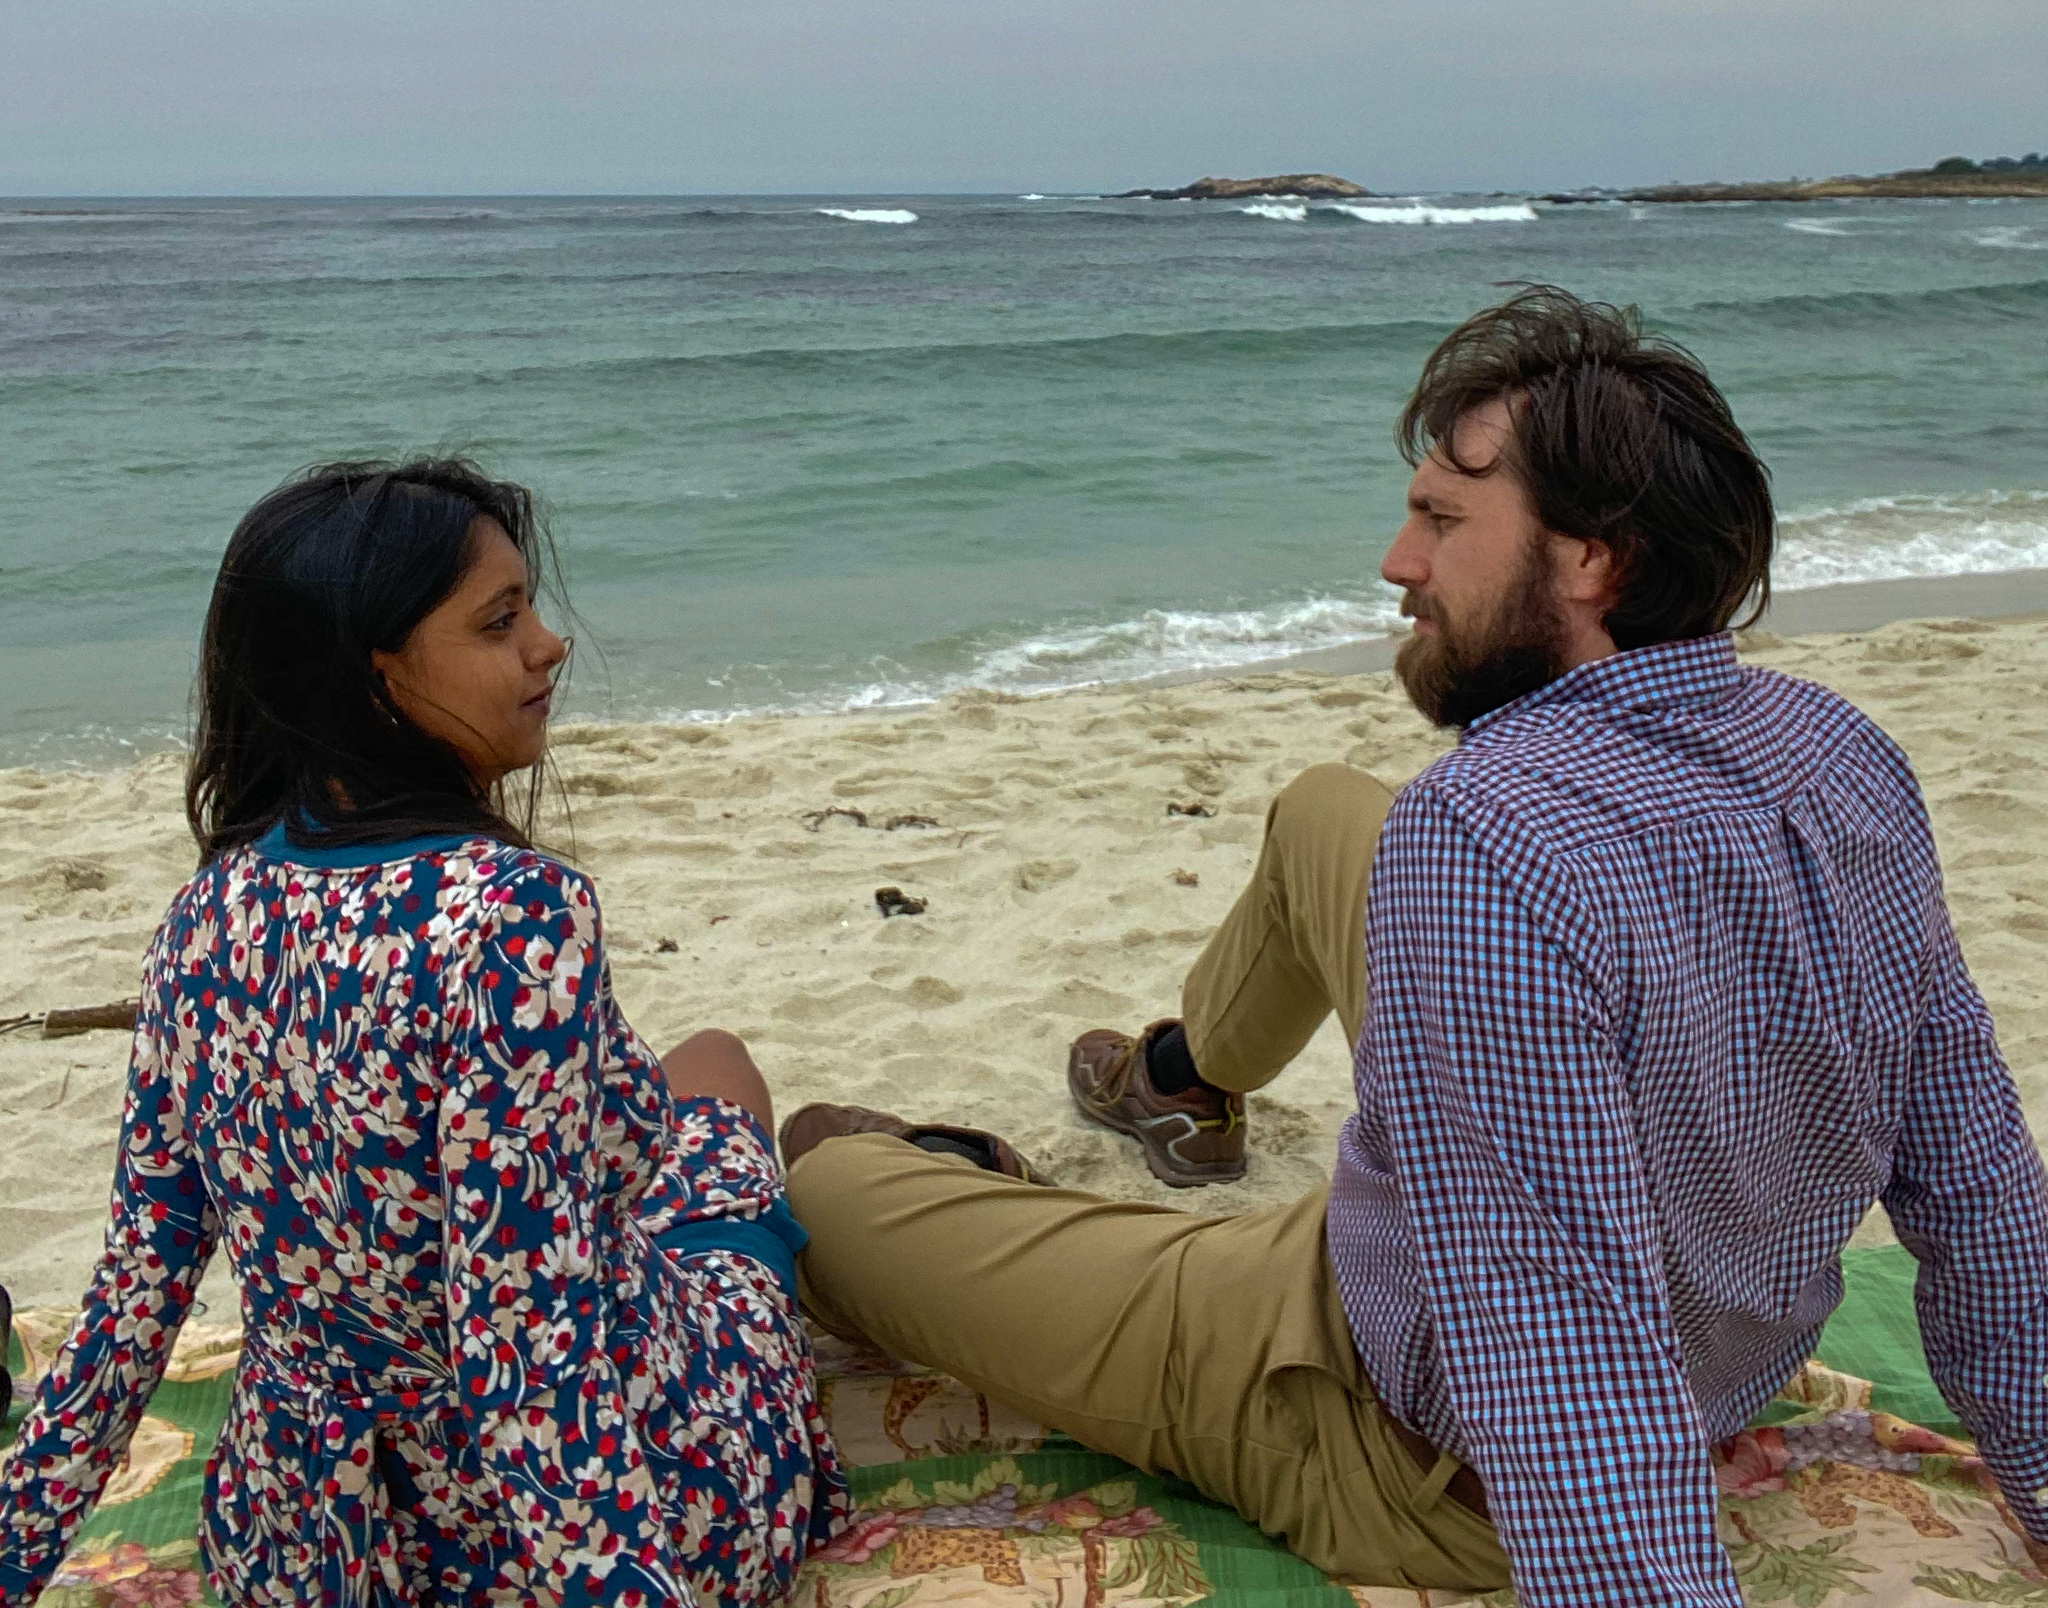
Michael and I recently hiked the Inca trail. I had always wanted to do it but hadn’t had the opportunity to travel internationally due to my visa situations as well as the fact that we were working towards other financial priorities. But 2022 was when it all finally worked out.

On most other vacations I am happy can be pushed out of the door with little planning. Ultimately, as long as I have my phone, wallet and charger, I know I’ll be able to manage everything else. It might cost a lot, but things would work out. Hiking the Inca Trail is not like most other vacations! It took a lot of planning and preparation to get us ready for this trip. Without some of this prep, our experience might have been less than pleasant. There is a lot written on this subject. However, we found that some of that information was a bit outdated. So, it seems sensible to record our experience for friends and family who’d like to go on this hike. Below are my notes on planning and preparation followed by a downloadable packing list. Hope it helps make your preparations easier! And I added a printable packing list at the bottom of this post for your convenience.
Planning
When to go?
Peru has a rainy season and a dry season. As you’d guess, the dry season is the best time to go on this hike. The dry season in Peru is March to October. November to January is the rainy season. The trail is closed in February for maintenance.
Permits
The Peruvian government only allows 300 tourists per day on the trail. So entry permits are limited. The permits are purchased by your chosen tour company in your name. They are non transferable and non refundable. The names on the permits need to match your passport exactly. So, while buying the tour package, make sure your name is exactly as it is on your passport.
We went on this hike with Alpaca Expeditions. They are a local tour company who are quite involved with social projects to help their community. Alpaca Adventures was started and is run by a porter turned tour guide turned entrepreneur. They are also one of the first tour companies in the area to allow women to be porters and tour guides. We valued these progressive aspects of the company highly. The other plus points were the great tour guides and fantastic food provided on the hike. The food is clean, tasty and they cater to dietary restrictions. Alpaca adventures also worked with us to refund a part of one of the tickets that we did not end up using. They even helped us locate our passports which we’d carelessly (!) left in their office. Their staff was incredibly helpful every step of the way.
The other good tour company we had heard of is G Adventures. They are a global company operating tours at a lot of famous tourist locations.
Which hiking package to book?
There are several hiking packages in the area. Some of them hike to Machu Picchu slower with more site stops along the way. The 4 days 3 nights is the classic Inca trail package. This is the one we did. It is difficult but not insurmountable. If you are not a regular hiker or have some health issues, you could look into some of the shorter hikes – such as two days one night package or longer ones that break down the same hike into five days instead of four.
Planning your stay
It is recommended that hikers arrive in Cusco 2 days before the start of the hike. This allows the body to acclimate to the altitude. Speaking of…
Will the elevation make me sick?
Altitude sickness medication is also very highly recommended. This medication is preventative, not curative. So, it’s a good idea to start taking it on arrival to Cusco so that your body is comfortable with the elevation by the time the hike starts. In our hiking group, a majority of the people did not take any medication to help them. And they had headaches, nausea, breathlessness and all kinds of symptoms. The hike is difficult enough without this added challenge! If you are a beginner hiker, it would be a fantastic idea to not take on the extra difficulties.
Altitude sickness medication is a prescription only medication in the US although it can be bought over the counter in Cusco. We were able to buy 4 days worth for about 50 Soles or $12.
What can I do in the two extra days at Cusco?
There are things to do around Cusco that can easily occupy a couple of days such as chocolate making classes, visiting the Sacred Valley and other historic places around the city or just going to the various markets to buy souvenirs. Note that some of the more impressive sites such as the Rainbow Mountain requiring booking another tour which starts with a pick up at 4am and involves several miles of hiking. So, if you want to do that, it will take some planning ahead and possibly a longer stay in Peru. I really wish I had the time to visit some of these sites – particularly the Salt Mines of Maras, the Rainbow Mountain and the Humantay Lake. Although this is just incentive for me to return some day!
Some folks purchase local made sweaters, shirts or hats that they can wear on the last day of the hike. This means they appear in all their Machu Picchu photos wears colorful local made garb. If you want to do this, plan accordingly!
Preparation
Physical Preparation:
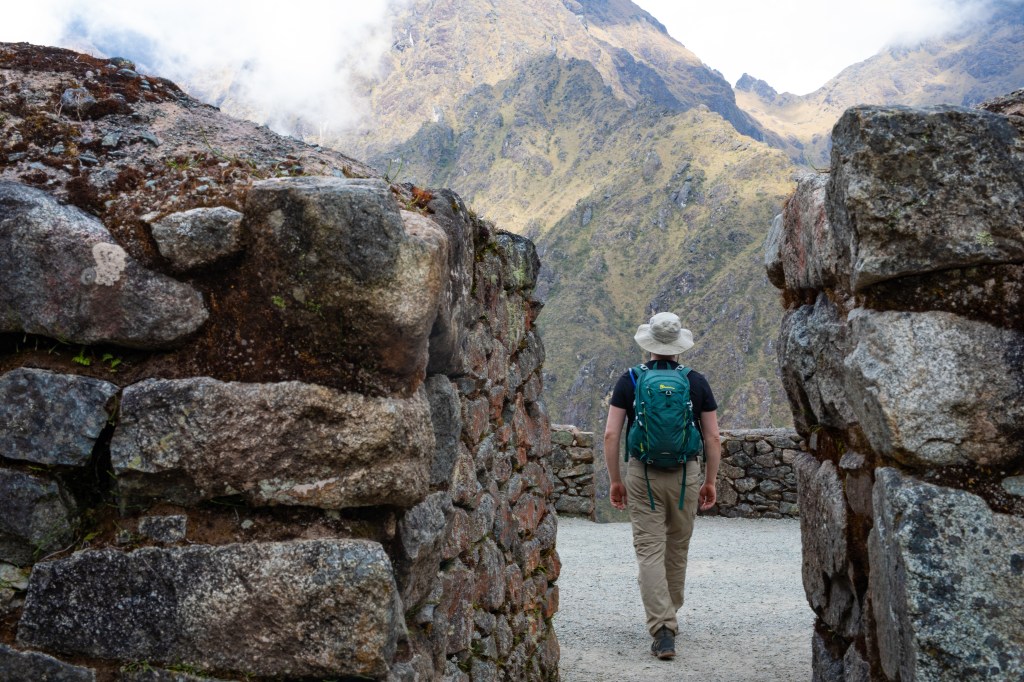
We found the Inca Trail challenging in many ways and were incredibly glad that we had spent some time preparing for it beforehand. Here is all the prep we had done:
- Preparatory day hikes with a little bit of weight (~3 lb) in our backpacks to get our bodies used to walking with the weight. Turned out that our most difficult prep hike was easier than the easiest day on the Inca trail. 🤷🏽♀️
- Gym workouts – we aimed for 4 days a week but often missed this goal by a day. We did weight training to strengthen our lower body, back and abs. We also looped in workouts for the upper body to avoid an imbalance. Squats, lunges and step ups (and downs) definitely helped us. Step ups and step downs are a good way to gauge and improve your hiking abilities and they are similar to climbing up and down the trail. When we had summited the Dead Woman’s Pass (or the Sleeping Beauty Pass, as our guide preferred to call it), I was really happy and looking forward to the easy downhill hike for the rest of the day. Girl, was I wrong. The downhill parts of the hike are pretty brutal on the knees and thighs and preparing for it proved to be immensely helpful. While our workout regimen may have been over kill, some strengthening on glutes and quadriceps will be immensely helpful for the hike. If you have known problem areas, seek guidance from a trained professional.
- Some of the other folks in our hiking group had also practiced some yoga breathing exercises. Looking back, we should have done that as well as more cardio because it is very easy to be out of breath at the trail’s altitude (~11,000 ft).
Other Preparation:
- In other prep, you should call your doctor a few weeks before you leave and get altitude sickness medication. They will also give some other medicines for stomach problems just as security measure.
- United States citizens do not need a visa to travel to Peru. As and Indian citizen, I was also allowed in without any additional paperwork because I had a valid visa for the United States. But situations change, and I’d recommend checking the Peruvian Embassy’s website before your visit.
- Learn from our mistake: Pack all your hiking things in a separate bag or section before leaving so you don’t have to stay up late the night before the hike to do it! The tour group’s porters will carry 6kg of your gear. About half of this is going to be a sleeping bag, sleeping pad and the air mattress (These can be rented from the tour company. They are selected at the time of booking the tour. More than worth the nominal cost.). So, you can give 3 kg of your stuff to the porter to carry. Things like power banks, nightwear, change of clothes can go with the porter. Make sure you pack everything you will need during the day + some first aid supplies in your backpack.
- When you reserve your spot with the tour company, they charge you a small deposit and the cost of the government permits. This was about $211 each for us. The remaining amount is paid in cash to the tour company in USD upon arrival. So, I’d recommend carrying this in cash from the US. You can get cash in Soles from ATMs around Plaza De Armas and St Francis Square in Cusco for daily use around the city.
- The coffee is really good in Peru. If you are into it, take advantage of the delicious coffee!
- Get good hiking boots and break them in so you know they are comfortable on the hike.
- Backpacks have straps that go across your front at the chest level and stomach level. I thought this was useless and just for aesthetics. I was SO wrong! These straps, when tightened properly, take a lot of strain off your shoulder and distribute it over your back and glutes. This makes a carrying a heavy pack so much more manageable. I wish I knew this when I was in school and carrying a heavy school bag every day.
- The tour company picks you up from and drops you off at your hotel. So, they recommend staying in hotels that are located in easily accessible areas. We stayed in the Hilton Garden Inn and were happy with our hotel although others in our hiking group stayed at much cheaper hotels and reported them to be decent as well. If I were to do this again, I’d stay at a cheaper place.
- Bring cash in Soles on the hike for tipping the tour porters and guides.
- Bring about ten 1 Sole coins to pay for bathrooms on the trail.
What to expect
- Assuming you book your tour with Alpaca, you have to visit their office when you arrive to pay your balance fees and show them your passport.
- The evening before your hike, Alpaca will host a meeting where they go over logistics, tell you what to expect, confirm food preferences and give you a duffle bag. You take the duffle bag with you to the hotel and pack into it all the things that the porter will carry for you. Make sure that you keep the weight under 3KG.
- We learnt form other more experienced hikers on this trip that it’s better to pack light. We feared being dirty and packed a lot of items for cleanliness sake. Such as body wipes (because no shower + hike = smelly us) or multiple sets of clothing. However, turns out you are SO TIRED that it does not matter. For instance, I could have done with just one pair of hiking pants instead of three. If I got soaked, I had my night-time thermal pants to rely on. Every thing you decide to take is weight on your back. And climbing mountains is easier with less weight.
- Also fill your camel bak/water bladder with water the night before starting the hike. Carry at least 2 liters per person.
- If you are staying at one of the recommended hotels, the Alpaca team will pick you up in a bus the next morning between 4 and 4:30 am. Get used to this wake up time for the next 4-5 days. You don’t need to have breakfast before leaving. Alpaca will have breakfast ready for everyone around dawn.
- After pick up, the group is driven to Ollantaytambo where the first breakfast of the hike is ready. This is about an hour long stop. Also, it is a good opportunity to use the paid bathroom.
I’ll take this opportunity to write about the vitally important topic of bathrooms. Bathrooms are limited on the trail. So, it’s a good idea to use one any time the opportunity presents itself. The next one could be several hours away at the next camp site.
Some of the bathrooms (particularly the paid ones) are western style. Most other brick and mortar bathrooms are Chinese/Indian style toilets where you need to squat down to do your business. These are relatively alright. They were not filthy or anything. Women, when peeing, make sure your feet are symmetrically placed. If your foot is angled one way, you might end up getting pee on your foot. Everyone, the flushes are pretty powerful. So, I quickly learned to get fully ready to flush, pull the string and then run out the door.
The third option was a portable toilet in the camp. They would set this up every night at the camp. Michael called this toilet ‘a crime against humanity’. This isn’t a portapotty, which is what I had expected. I don’t really want to get into the details of why it was incredibly gross – just take my word for it.
Finally, the last option is going behind some bushes.
In all these toilet options, there is no toilet paper inside the stall. In the paid ones, you get a few squares of paper when you pay. And in the unpaid ones, you need to bring your own. You should also carry a small bottle of soap to wash your hands. Water is available to wash with, but you need to bring your own soap.
Closing the toilet discussion and continuing on with what to expect …

- Before leaving from Ollantaytambo, the Alpaca team will bring out some snacks to carry with you. We missed ours because we were busy taking pictures. They weren’t even good pictures. I’m sure the snacks were better. Don’t be like me – don’t miss out. The alpaca team will hand out snacks every morning after breakfast. It was usually a fruit and chocolate bar or cookie.
- Then there is another hour or so of bus ride to the starting point of the hike. Here, the guide will show the group’s permit documentation and each person has to show their passport to an officer. There is another paid bathroom here. Use it.
- After that, the hike finally begins. The first day was the hardest for us. Maybe it was because we were wearing too many layers and it was pretty hot (went in late April/early May). Maybe it was our bodies acclimating to this high level of exertion. I had to really focus on my breathing technique to learn how to not get out of breath every couple of minutes. It’s okay to be slow, just keep going. The one downside of being slow is when there are group breaks, you get a shorter rest than those who go there earlier. But there is still enough time to catch your breath.
- Sitting to rest in the middle of the hike is a bad idea. It becomes really difficult to get your body in action again. For real. The same with taking long breaks. Frequent short (15-30second) breaks are better than longer breaks.
- When taking breaks, don’t try to get your body back to fully slow and normal breathing. Stop for a few seconds so the panting slows down then proceed.
- Here onwards, the guides and the Alpaca team take care of pretty much everything. They provide you food and drinking water and set up your tent and even bring your warm water to wash up a little. You simply have to walk.
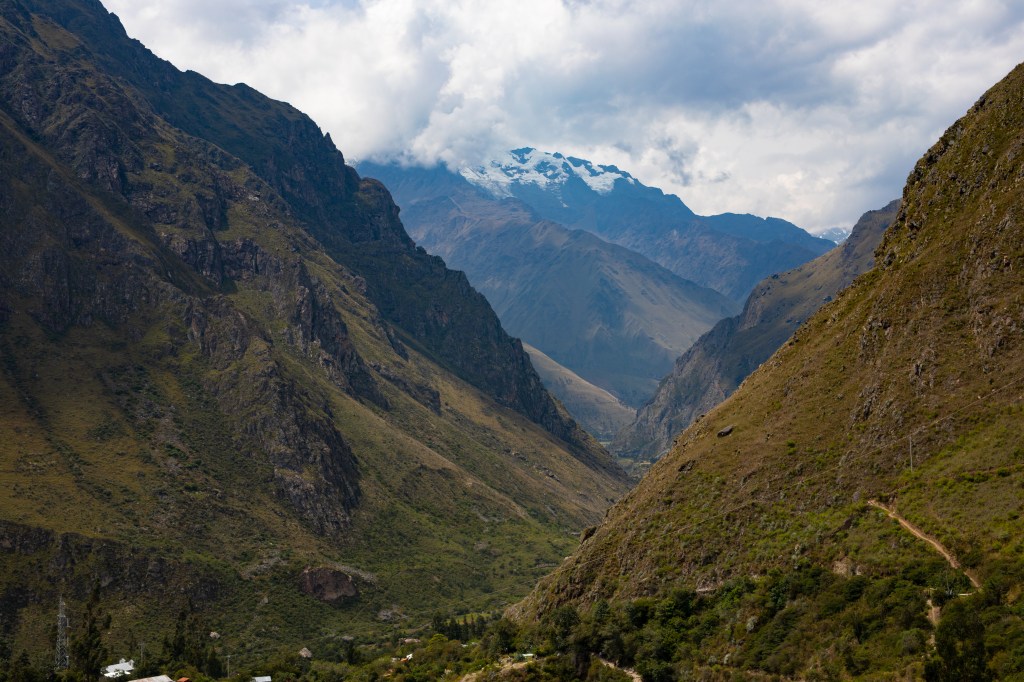
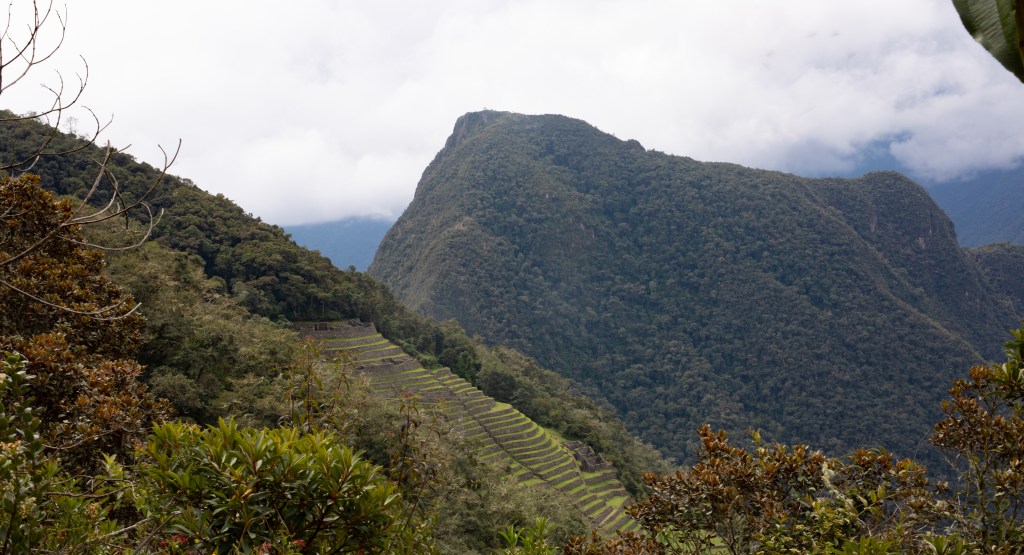
- There are a couple extra Inca sites that you can see if you hike a little bit extra on the 3rd day. I’d recommend not skipping them. If you have to make a choice, definitely chose to go see Winay Wayna and skip the other one. Winay Wayna was the most amazing and almost magical site in our opinion. We hiked down some step through Winay Wayna to have an uninterrupted and mind blowing view of the Andes Mountains. You’ve heard of them, read bout them in geography, may be read up on them again before this trip. But Winay Wayna really brings to your attention that you are in the Andes Mountains. You see the majesty and the serenity. This site is only accessible to hikers. So, you are able to enjoy it in peace. This will not be the case in Machu Picchu, which is simply crawling with tourists. I challenge you take a picture there without another human in site! It’s impossible. But Winay Wayna offers the pleasure of enjoying the site in solitude.
- The third night of the hike is when the tips are given to the porters and the chef. There will not be time on the last morning to give tips because the porters and chefs return to Cusco right after the hikers depart. I wish we had counted the tip amounts to be given and had them ready in envelopes before starting the hike. You can find the recommended tip amounts on various websites. Because we decided on the amounts in a last minute scramble, I cannot remember how much we gave!
- Tips for the tour guides can be given until you return to Cusco. We went to lunch at a nice restaurant after visiting Machu Picchu and this was a good opportunity to thank them for a wonderful experience and hand over the tips.
- The group needs to rise very early on the fourth morning. We woke up at 3am. We packed our porter bags and backpacks and brushed our teeth in 15 minutes. Then we were handed a to-go breakfast and the day’s hike began at 3:15 am. The goal is to arrive at the checkpoint for Machu Picchu before any of the other groups. The whole group has to get there together for it to count. The checkpoint is a mere 15 min walk from the campsite. Once there, the group grabs their position in line and sits and waits till 5:30am. We found this a great time for stargazing. We saw the milky way and quite a few shooting stars and had fun trying to identify constellations (they are oriented differently in the southern hemisphere). People also walked back to the campsite to go use the last bathroom before Machu Picchu.
- 15 minutes before the checkpoint opened, the guides let us know. This was the last opportunity to go to the bathroom before reaching Machu Picchu. The 15 min warning also gave the hikers a chance to warm up before they start hiking again.
- Once through the checkpoint, everyone was literally racing to get to the Sun Gate early, if not first. It is supposed to be an amazing experience without the view being cluttered with other hikers trying to pose for pictures. Me being a slow hiker, we didn’t get there early enough.
- There is plenty of time to take pictures at the Sun Gate before starting the last leg of the hike to Machu Picchu.
- Alpaca guides will show you through the Machu Picchu and give you all the history and details.
- The return trip is by bus, train and bus again and they drop you off back at the hotel. There is a lunch stop at a restaurant after the first bus ride and before the train ride. This lunch is not covered in the tour package, you have to pay for it. They do take Visa cards in most places.
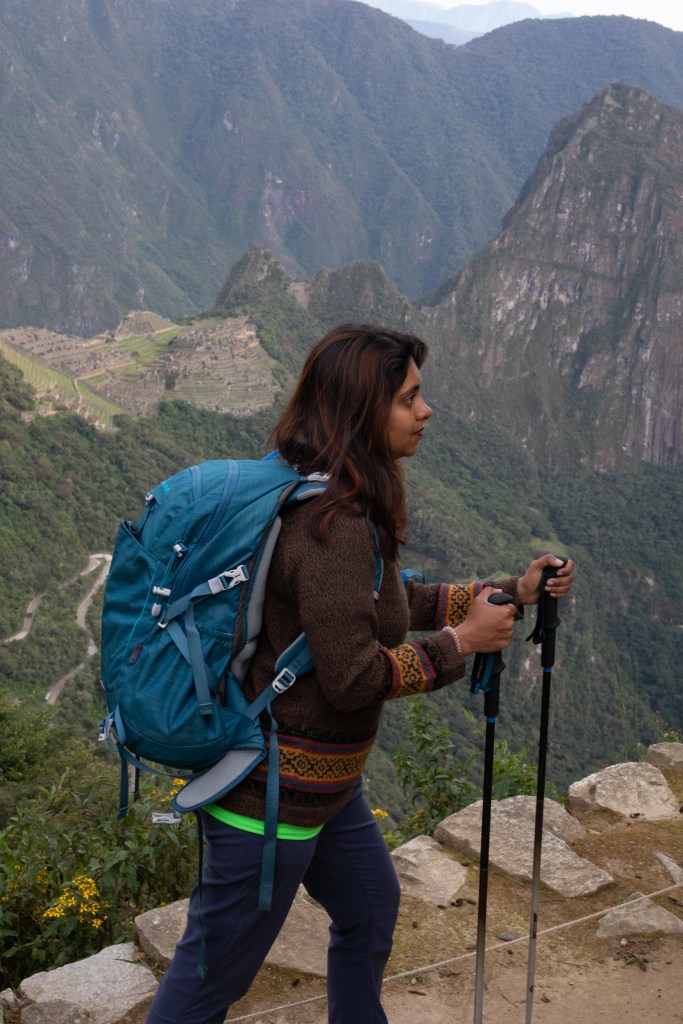
- If you intend to go on the hike with a camera that will hang around your neck, think again. I had one and it was a massive pain to carry around – literally. We made up a system of hooking the strap onto my backpack instead of letting it hang on my neck the whole time. This did not work when we were going downhill because the camera was in the way of me seeing where to put my foot down. And watching where I put my foot down was important so I wouldn’t twist my ankle or something. So, we rearranged the camera to hang off to the side so it was on my shoulder and still accessible quickly for taking photos. As a slow hiker, I couldn’t stop for more than a few seconds for each picture or I’d fall behind even more and delay the whole group. We made it work and we got some good pictures but it was pretty annoying and uncomfortable – and I only had myself to blame. I think using some small carabiners to hook up the camera strap to the backpack would work. But try that before the hike to make sure.
That’s it! That’s all the info and advice I have. Here is the promised printable Packing List. Hope this helps you plan and prepare for an amazing trip.

Leave a comment